Easy Uptime Monitoring Tool with Uptime Kuma in Google Cloud Platform

Monitoring our things like websites and APIs eventually become one of major task right after we have successfully deployed them. We want to make sure that our services can be online and healthy all the time for users. To get this done, we usually don't want to waste time to develop our own monitoring tool just for ourselves.
Instead, we can use already established online service like UptimeRobot. We can simply register to them, put our URLs that need to be monitored, then we can see how our services performed through provided charts. But just like any third party services, there are always limitations for every free tiers. If we need to have more advanced features, then we pay for paid tier which is kinda waste of money depending of what we actually need. For example, we simply want the uptime checking cycle reduced to some minutes less than five minutes of free tier.
Hence, there is Uptime Kuma. This is the best open-source monitoring tool yet I've ever found. It's free to use, inspired by UptimeRobot (much better and simpler), no tiered restrictions and best of all, it's so easy to deploy for ourselves! You can go check their official Github repository here.
In this post, anyway, I'm about to guide you to how we can easily deploy Uptime Kuma to Google Cloud Platform. It's pretty straightforward to what I'm going to demonstrate, if:
- We just need to deploy the tool without using any domain/subdomain
- We want this tool accessible through internet
- We want cheap deployment (yes, I'm not gonna put 'cheapest' since there will always the free way)
Now let's get started!
Notes: I'm going to use Compute Engine, instead of App Engine Flexible, Cloud Run or any other services that can host a Docker container. For what I have experienced so far, this is the easiest way to go.
Create a Compute Engine instance with Container Deployment
Uptime Kuma is stateful. It stores some persistent data in itself using local SQLite (based on the repo). Hence, they give ways for us to deploy the tool, which one is by deploying Docker container. The official Docker image is ready to deploy, no need for us to install and configure the environments.
However, one step we still need to do before deploying the container is to create a persistent volume. Of course, this is well supported by Compute Engine, but there are something we need to configure.
Now let's create our instance through this button in Compute Engine page.

Then, we configure our instance like these:
Give name to our instance and choose location that covered by GCP's Free Tier.

Choose machine type that covered by GCP's Free Tier as well.

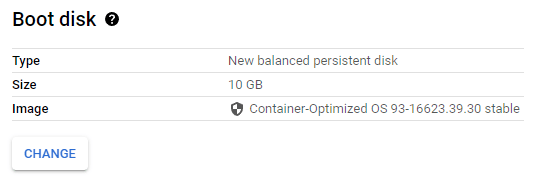
Next, we configure our boot disk type. Click on CHANGE button. On the form, choose Standard persistent disk, then click SELECT button. (This disk type is covered by GCP's Free Tier)
Scroll down a little bit, you will find this section. Click DEPLOY CONTAINER button.
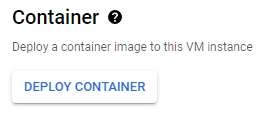
In the shown form, first fill in these fields. We type in the URL of Uptime Kuma's latest image from Docker Hub:
registry.hub.docker.com/louislam/uptime-kuma:1. Then if you need it, you can check the options here.
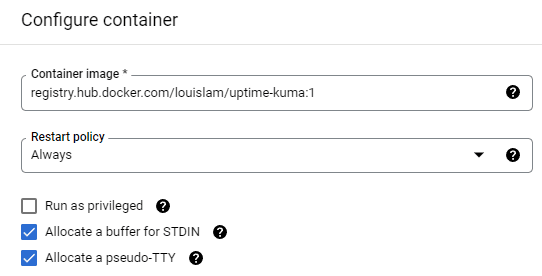
Now before we continue, you can choose one of two options below to create a Volume for our container. Option #1 is using TmpFS volume type, Option #2 is using Disk volume type.
Option #1, using TmpFS volume type
- Choose TmpFS volume type. Even it is a temporary file storage, based on Compute Engine documentation here, it states that:
with tmpfs on a Compute Engine container, the volume and its data persist across container restarts and are deleted only on VM restart.
- Click DONE and finally SELECT button. Skip Option #2 steps below.

Option #2, using Disk as volume type
Close the Container deployment form for now. Then, scroll down until you find this advanced section. Click on it and scroll to Disks section.

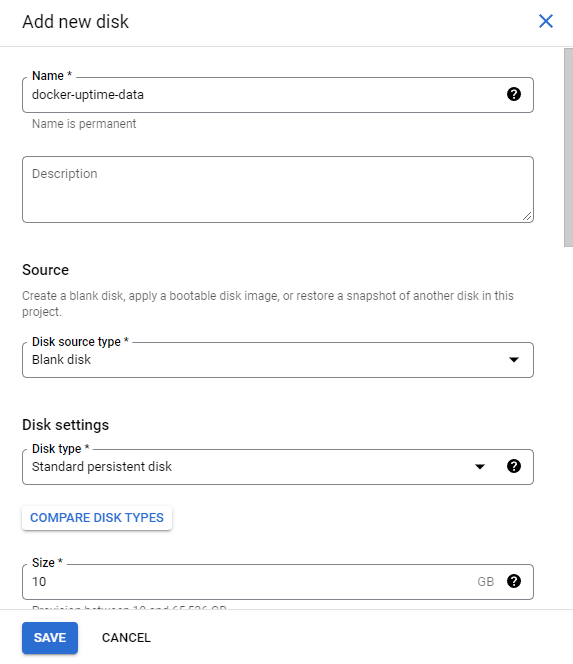
Click on ADD NEW DISK to open disk creation form. Fill in configuration like below. I simply choose zonal, blank, standard persistent disk with 10 GB in capacity. Click SAVE button when finished.

Now back to steps in Container Deployment form, in Volume mount section, choose Disk as volume type. Then pick your just created Disk and fill in other fields like below. Click DONE and finally SELECT button. Now we can move on to next steps.

Further, we have to give our instance a network tag, for example:
allow-kuma. Soon after we create the instance, we need to configure firewall to this instance. You may also want to configure a static external IP address with Standard network tier in this section.

Finally, click on CREATE button at the bottom of the screen.

Configure Firewall rule
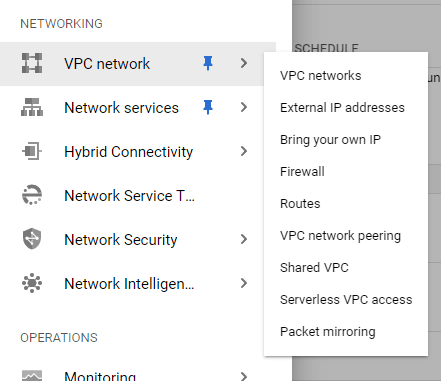
Now we already have our instance up and running, but we can't access it through its external IP address yet. We need to open port number 3001 to this instance, hence the given network tag.
-
Now set these settings. Click CREATE when you done.
- Name:
allow-kuma - Network: choose the VPC where the Compute Engine instance exists
- Target tags:
allow-kuma - Source IPv4 ranges:
0.0.0.0/0 - Protocols and ports: Check on Specified protocols and ports, then check tcp and type in number
3001.
- Name:
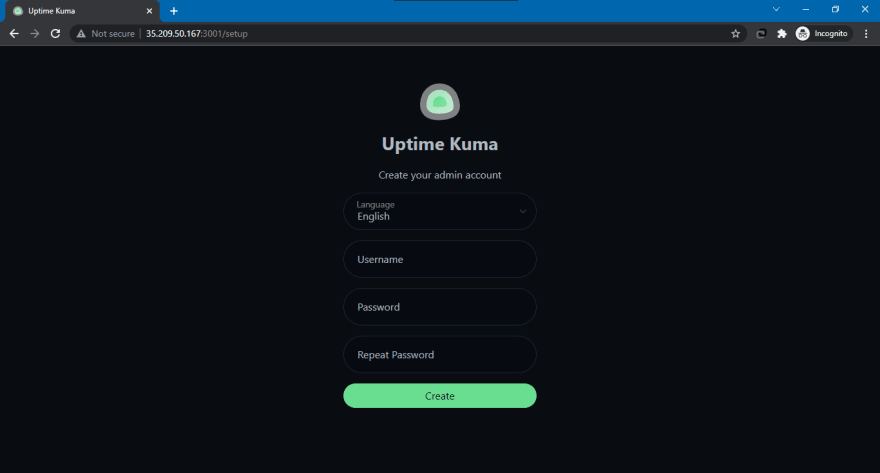
Just like that, our Uptime Kuma already up and ready to use. Open it through the VM's external IP address and concate with port 3001 like so: http://123.123.13.12:3001.
Now, let's see our cost estimation for those configuration. We assume these variables:
- We are using Standard networking tier
- We are using Compute Engine instance that covered by GCP's Free Tier.
- Monthly network egress comes from our instance based on per minute basis pings for 7 monitors is roughly around 0.5 GiB.
You can refer to this Google Cloud pricing calculator estimate link
We are only incurred cost around USD 0.44 per month for a rich features monitoring tool! Now that's cheap 💰💰
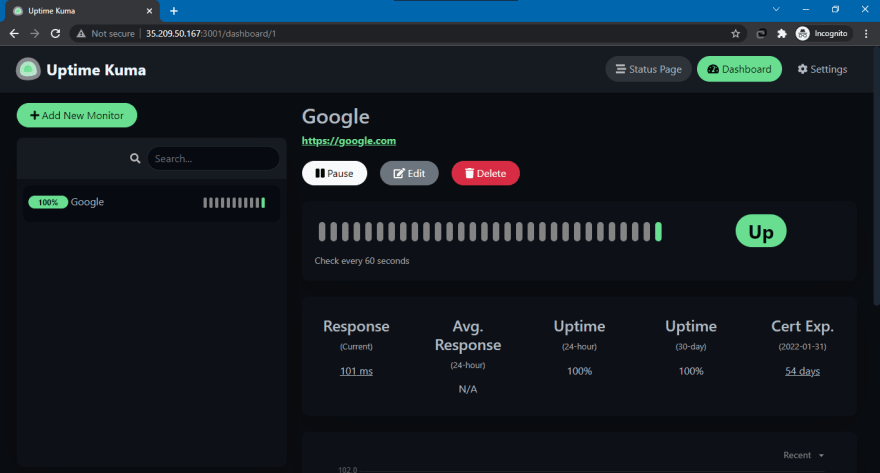
That's it for this post. Further you can explore Uptime Kuma's features and integrate it with social app like Discord. Also, it provides a customizable status page. They are pretty neat and helpful. Save and share this post if you like!

